Clean handwritten notes without covering the whole photo
Writing added to a photo can be very different from typed text. A marker line may change thickness. A handwritten word may include loops, dots, crossed letters, or a light final stroke that is easy to miss. When you remove writing from a photo, the selection should follow those visible marks instead of masking a large rectangle around them.
This page is useful for personal photos, scanned prints, album images, or graphics you own where handwriting or an added note no longer belongs. It is not for changing official records, signatures, identity documents, or information in a way that could deceive someone.
How to remove writing from a photo
- Add your photo. Open a JPG, PNG, or WebP image up to 20 MB and 24 megapixels.
- Zoom into the writing. Look for thin pen strokes, marker bleed, dots, punctuation, and light edges.
- Brush over the writing. Cover the visible ink while leaving nearby faces, borders, objects, and texture unselected whenever possible.
- Process the selected area. The tool rebuilds the marked region from nearby image detail.
- Inspect the result at full size. Pay special attention to paper grain, wall texture, hair, clothing, lines, and object edges.
- Retry if needed. If part of the writing remains, use a smaller brush to cover the missed stroke instead of repainting a much larger area.
- Download the cleaned photo. Save the final result as JPG or PNG.
Real writing removal examples
Example 1: Short pen note over a plain background
A short handwritten note over a wall, sky, blank paper area, or softly blurred background is a good first test.
What to check: Make sure the background tone remains even and that no faint pen tail remains after you remove the writing.
Example 2: Marker writing near an object
Marker writing close to a product edge, frame, table, or other object requires a narrower selection.
What to check: The object outline should remain continuous. If the edge becomes soft or distorted, undo the result and reduce the selected area.
Example 3: Writing on a scanned personal photo
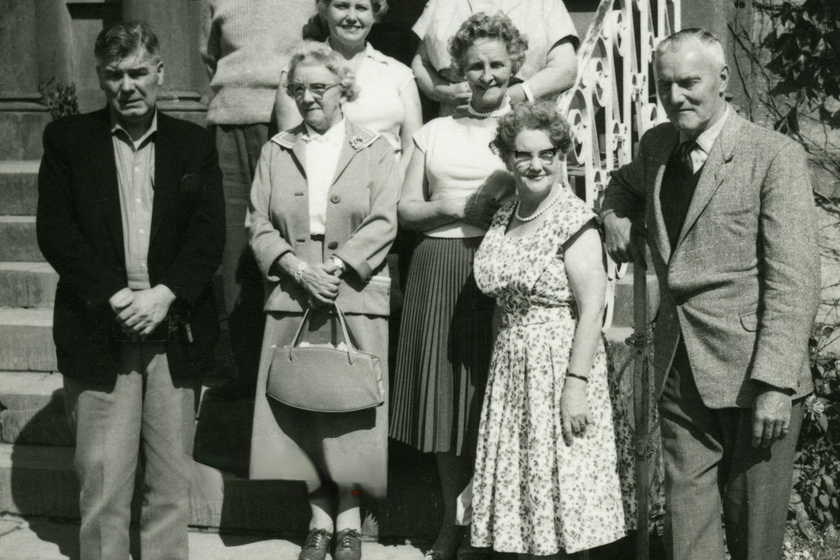
Older scanned photos can contain grain, dust, faded colors, and handwritten notes. Removing writing from these photos can be more difficult because the background already contains irregular texture.
What to check: Compare the cleaned patch with nearby grain. A repair that is too smooth can stand out even when the writing itself is gone.
 Before
 After
After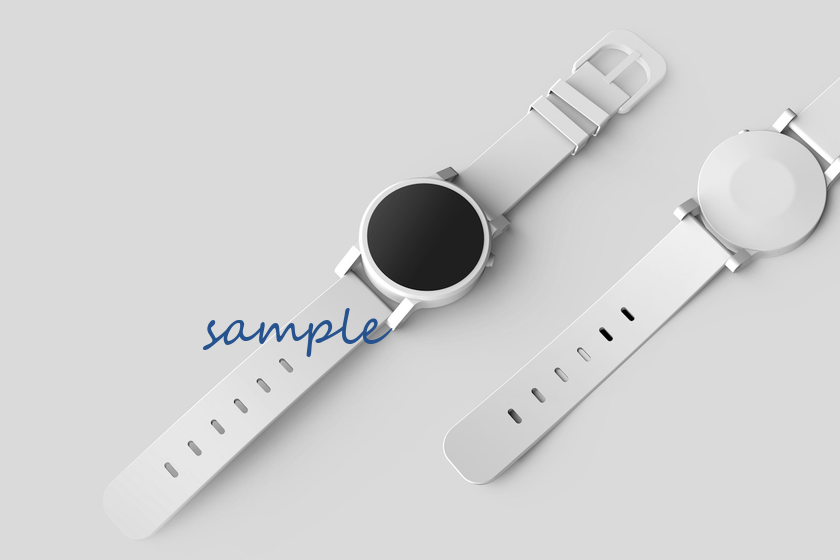 Before
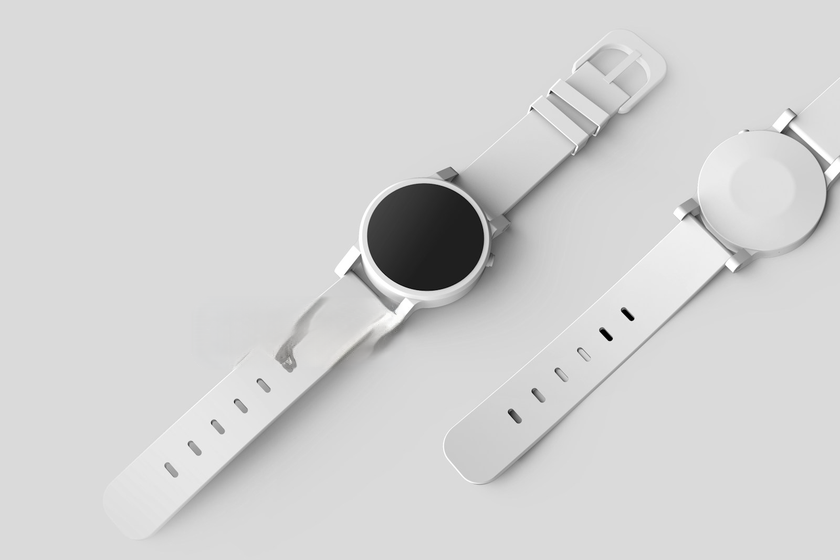 After
After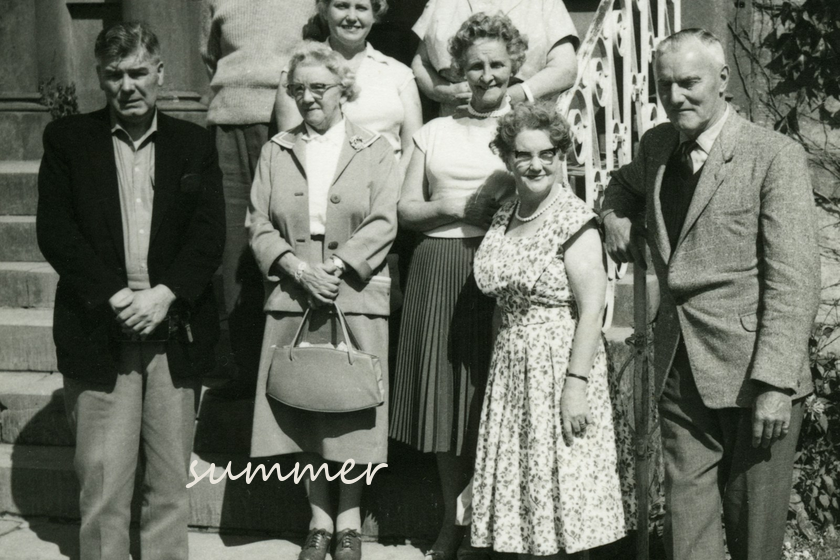 Before
 After
AfterText was added to licensed source photos for these tests. The results were made with the local model available in the tool. Review your own image before saving; detailed areas can need a second edit.
Writing removal is reconstruction, not hidden-pixel recovery
When pen, marker, or digital writing is already part of the image, the original content underneath it is not stored separately. Removing the writing means rebuilding that selected area from what is visible nearby.
For that reason, small writing on a consistent background is usually easier to judge than large writing across a face, hand, patterned fabric, detailed illustration, or sharp geometry. The tool gives you control over the selection so you can keep the edit as narrow as possible.
Photo and privacy facts
- Supported input: JPG, PNG, and WebP
- Maximum file size: 20 MB
- Maximum image size: 24 megapixels
- Download: JPG or PNG
- Processing: your image stays in the browser
- Account: not required
Frequently asked questions
Can I remove handwritten text from a photo?
Yes, when the photo is yours or you have permission to edit it. Zoom in, brush over the complete handwriting, and inspect the rebuilt area after processing. Thin strokes and faded edges may require a second, tighter pass.
What is the best way to erase marker writing from a picture?
Use a brush that is only slightly wider than the visible marker line. Cover the full ink edge, but avoid masking nearby subjects. A large rectangular selection can make the reconstructed area harder to match.
Can I remove writing from an old scanned photo?
You can try, especially when the writing sits over a simple background. Scanned grain, scratches, fading, and paper texture can make the result harder to match, so review the repaired area closely.
Will the tool recognize handwriting automatically?
No. You choose the writing to remove with the brush. This keeps the selection under your control and avoids removing other text or image details that you want to keep.
Are my photos uploaded?
No. The photo, brush mask, filename, and result stay in your browser during processing.
Remove writing from your photo
Open a photo you own, select the handwriting or added note, and review the cleaned area before you download it.